Final product:

What you will need:
- An oven or a toaster oven
- A medium size bowl
- 1/4 cup flour
- 1/8 cup salt (2 tbs.)
- 1/8 cup water (2 tbs.)
- A fork (or something else to stir with)
- Wax paper (optional)
- A rolling pin
- A cookie cutter
- A straw
- Sandpaper
- Paint (optional)
- Your pet
Part I
1.
Pre-heat your oven or toaster oven to 250° Fahrenheit.
Mix the flour and salt with a fork,

add the water,
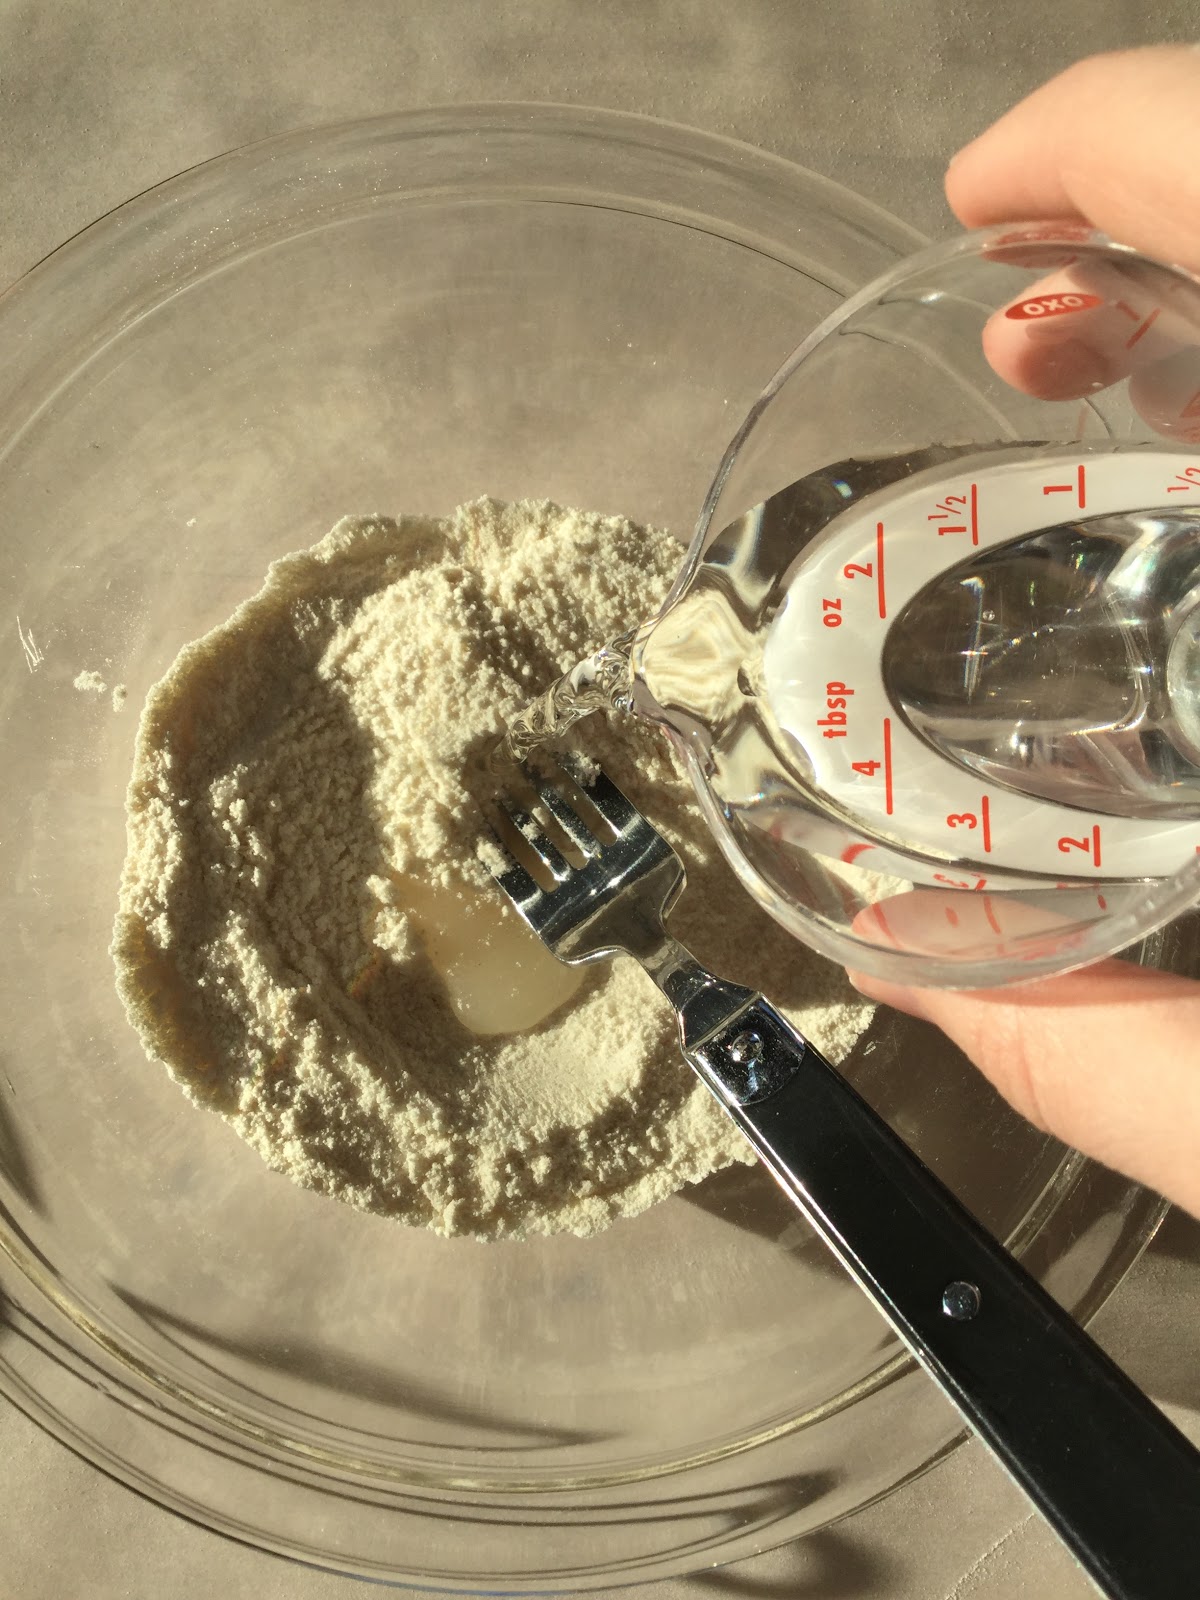
and mix it all together.

Once it's all mixed together, knead it with your hands until it starts to get tough.
(If it feels too sticky, add more flour.)

2.
Using a rolling pin, roll out the dough to about an 1/8 of an inch thick.
(This is enough dough to make about three small ornaments.)

Then take your cookie cutters of choice and cut them out.


3.
Take your furry friend (or not furry) and place their paw right in the center, pushing down a little bit.
(Make sure to give them a few treats afterwards.)


Now take the straw and make a small hole at the top of the ornament for the ribbon.


4.
Put the ornaments in the oven or toaster oven, face up, and set the timer for 30 minutes. Once the timer has gone off, flip them over and bake for another 30 minutes.
(Don't worry about baking them too long. If they are still a bit soft, bake them longer.)

Part II (optional)
These next steps are basic instructions for painting, so feel free to paint them in any color or style you want.
1.
Sand down the edges and the bottom of the ornaments, and blow all the dust off.

2.
Lay them on something where they won't pick up debris, and spray paint them in any color you want.
(You can also use acrylic paint.)


3.
Once they dried, I painted the back of one black with acrylic paint,

and filled in the paw print too.

Done!

No comments:
Post a Comment